A Product Catalog Block displays many products available for sale/purchase, possibly organized by category. You may use this block to display products from any site in any price plan. Product catalogs usually include the product title, product description, product price, and a photo of the product. Users will be able to browse and expand item details.
The block can also be set to accumulate orders into a shopping cart and send the visitor to PayPal to pay for the products in the cart. In comparison to the PayPal Block, it handles more products but has fewer possible payment processing features. When they checkout an order list will be emailed to them and to members of a group set by the website to receive product orders. PayPal must be enabled to complete the purchase. Before the block will correctly operate, complete the steps in Configuring Paypal.
The Product Catalog Block with linking to PayPal for payment processing is available on the Dynamic Hosting Plan and Powerhouse Hosting Plan. To upgrade the hosting price plan, see: Set Hosting Price Plan
Example of Product Catalog Default block view:
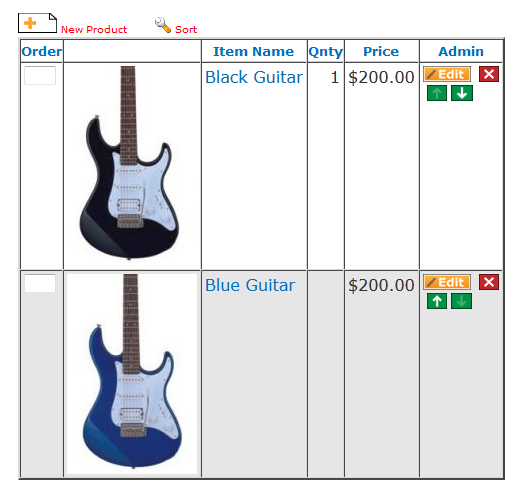
Other Product Catalog Views: Default | Cart | Checkout | Gallery
Steps: How to Add a Product Catalog – Default Product Listing
1. On the HotDoodle Toolbar, click on the "Block" tab.
2. Click on the "Add Block" button.

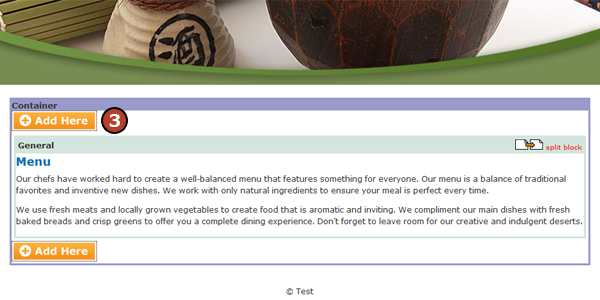
3. On the webpage, click on the "Add Here" button where the Product Catalog will display.
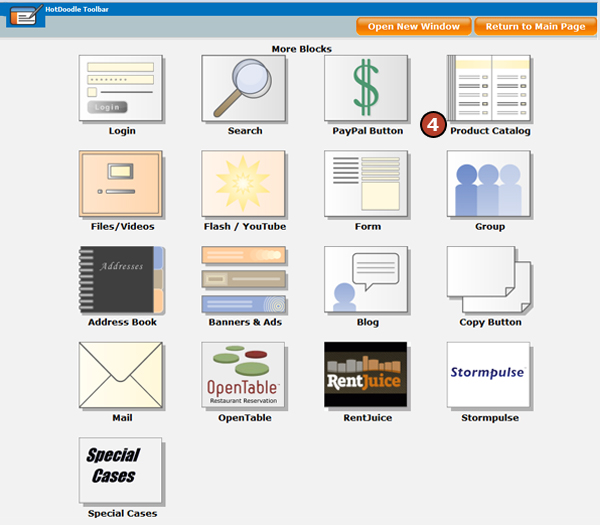
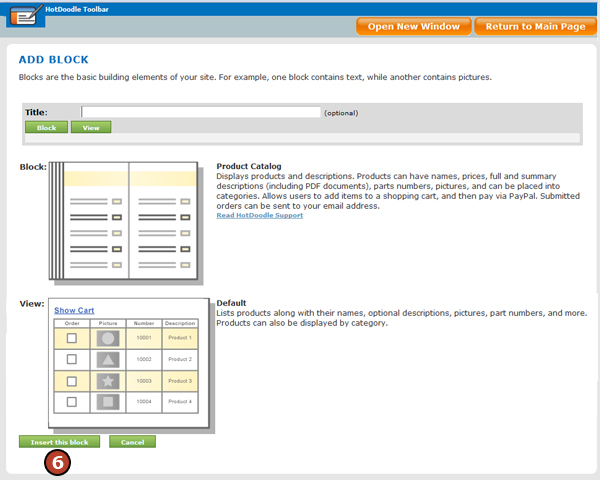
4. Click on the "Product Catalog" Block.
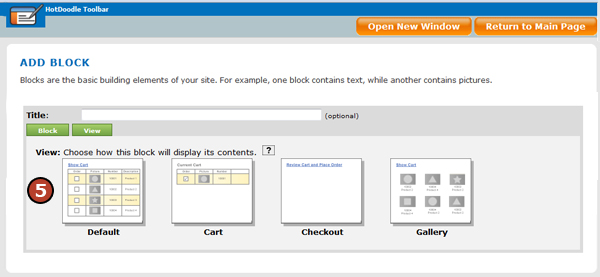
5. Click on the block "Default" view.
6. Click on the "Insert this block" button.
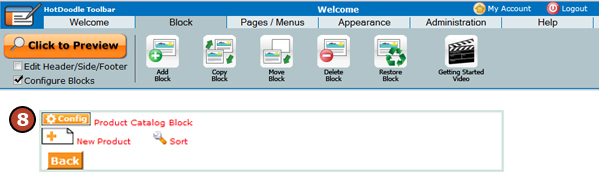
7. Click to add a check mark in the box next to "Configure Blocks" under the Click to Preview button.

8. Click on the "Config Product Catalog Block" link.
9. Configure the Basic Behavior
- Enable Categories? - If checked, this option will list products by categories.
- Products on main page - This option sets the number of products displayed on the main page of the porduct catalog.
- Products on detail pages - This option sets the number of products displayed on the second, third, etc. product pages.
- Main page articles are repeated in the first detail page - If checked, this option will display the products listed on the main page again at the top of the second page.
- Products have long descriptions - If checked, product pictures will display with the description wrapping around the picture.
10. Configure Order Behavior
- Enable Orders? - This option if checked will allow visitors to assemble a cart of multiple items from the product catalog.
- Show Cart with View - This option if checked will display a cart with a summary list of items currently in the cart at the bottom of the product catalog.
- Orders require login?- This option if checked will require visitors to login before they can assemble items in a cart.
- Orders collect email? - This option if checked will request the visitor's email at checkout.
- Orders college Ship To Address? - This option if checked will request the visitor's shipping address at checkout.
- Mail Orders to - This option selects the group that will get emails of all completed orders.
- Button Type - This option selects the PayPal button that is displayed at checkout.
- Shipping - This option sets a global shipping amount.
- Currency Code - This option sets the currency code for the product catalog.
- Currency Symbol - This option sets the currecy symbol that will display in the product catalog.
- Language Code - This option sets the language code that will be used in the poduct catalog.
- Tax Exempt - This option if checked will declare the items in the product catalog as exempt from sales tax.
11. Configure Image Behavior
- Enable Image? - This option when checked displays an image when uploaded for a product.
- Image Size in Gallery - This options sets the size the image will display in the product catalog.
- Image Size when Opened - This options sets the size the image will display when each product is clicked on and viewed individually.
- Items per Gallery row - This options sets the number of products listed per Gallery row.
12. Configure Media Settings
- Enable PDF description? - When checked, this option will attach a PDF file of information for the product.
- Enable Sound? - When checked, this option will display a button to listen to the sound attached with each product.
- Sound Link Label - This option sets the wording for the button to play the sound.
13. Configure the Field Names - The field names are the list of available fields to display for each product. Each product will display the wording selected for each and will display nothing if the field name is left blank. Items include:
- Part Number
- Item Name
- Size
- Details
- Unit of Measure 1
- Unit of Measure 2
- Unit of Measure 3
- Price
14. Configure View Adjustment
- Show Only Categories in the first screen - This option, when checked will only display the category types on the main screen.
- Show only the first para of description - This option, when checked will display the first paragraph of the description in the product catalog and display the whole description when each product is clicked on and viewed individually.
- Show only current page products -
- Go to this page when set - This options allows redirect to a specified page when the Proceed to Checkout button is clicked.
- Supress Proceed to Checkout - This option, when checked will not display a Proceed to Checkout button and inhibit order completion for that product catalog.
- Proceed to Checkout Lable - This options allows the Proceed to Checkout button to display a different value, for instance, Proceed to Shipping Options.
- Proceed to Checkout URL - This option sets the url that is visited when the Proceed to Checkout button is clicked.
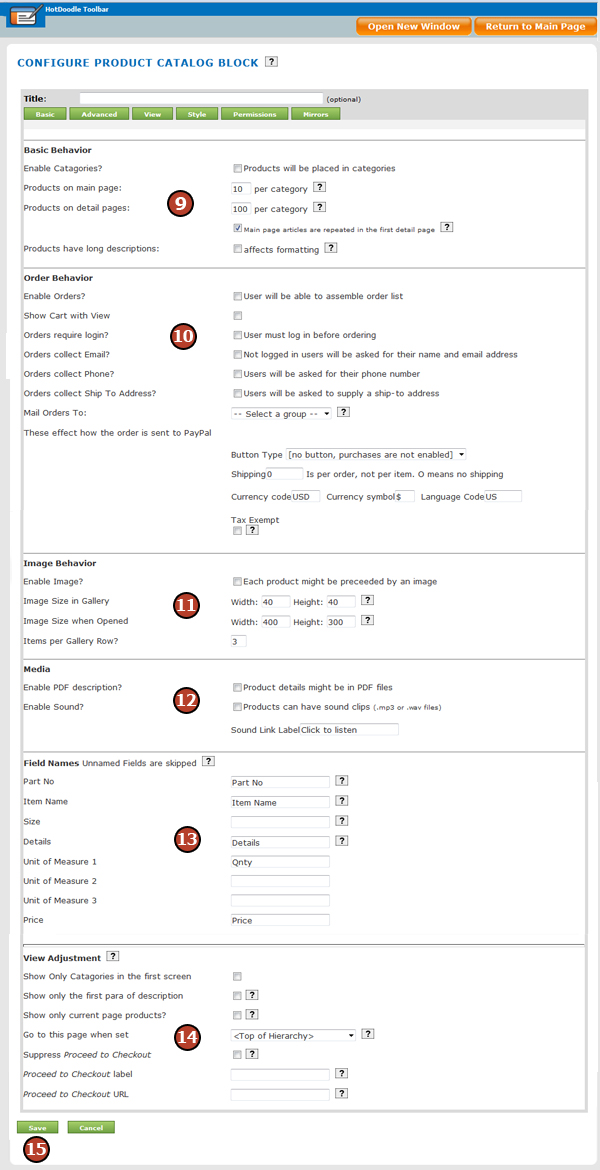
15. Click on the "Save" button.
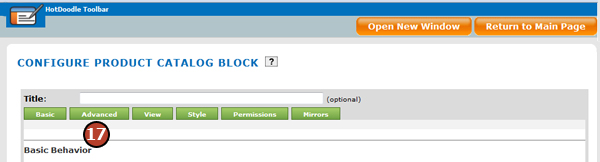
16. Click on the "Config Product Catalog Block" link.

17. Click on the "Advanced" tab.
18. Type in a message that will display at the top of the checkout screen.
19. Type in an acknowledgement that must be checked off by a visitor to complete the order. For example, "I have read and agreed to the Terms and Conditions". This message will display with a checkbox next to it on the checkout screen.
20. Type in a message that will display at the top of the screen that instructs a visitor to proceed to PayPal to complete payment.
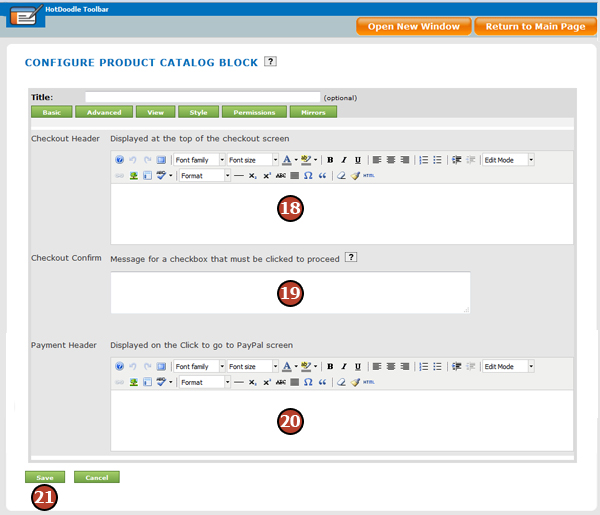
21. Click on the "Save" button.
See: Add a Product | 