Steps: How to Create a Group Account
1. From the HotDoodle Toolbar, click on the "Administration" tab.
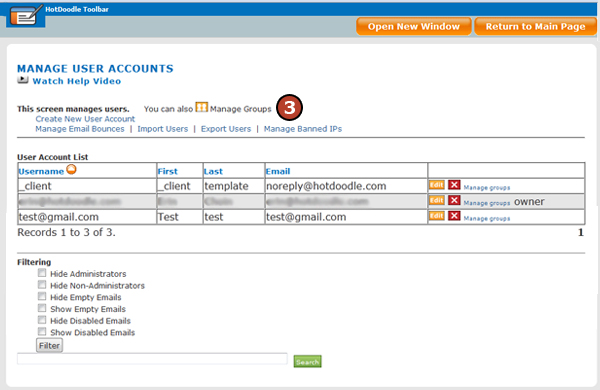
2. Click on the "User & Group Accounts" button.

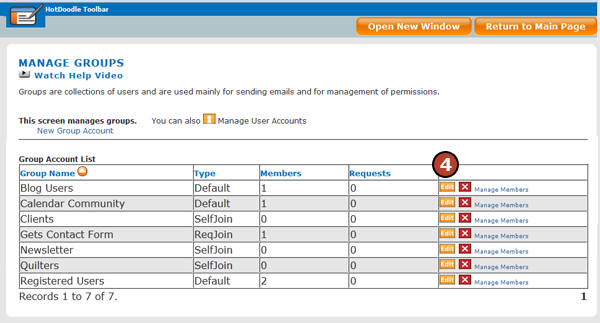
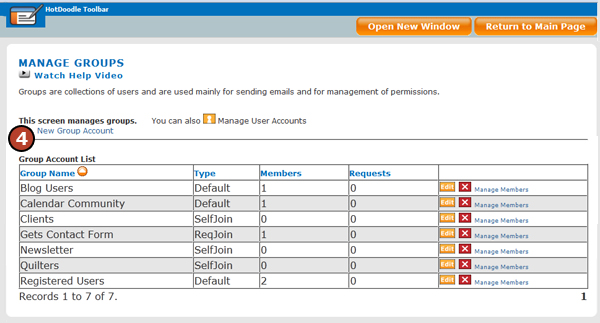
3. Click on the “Manage Groups” link.
4. Click the “New Group Account” link.
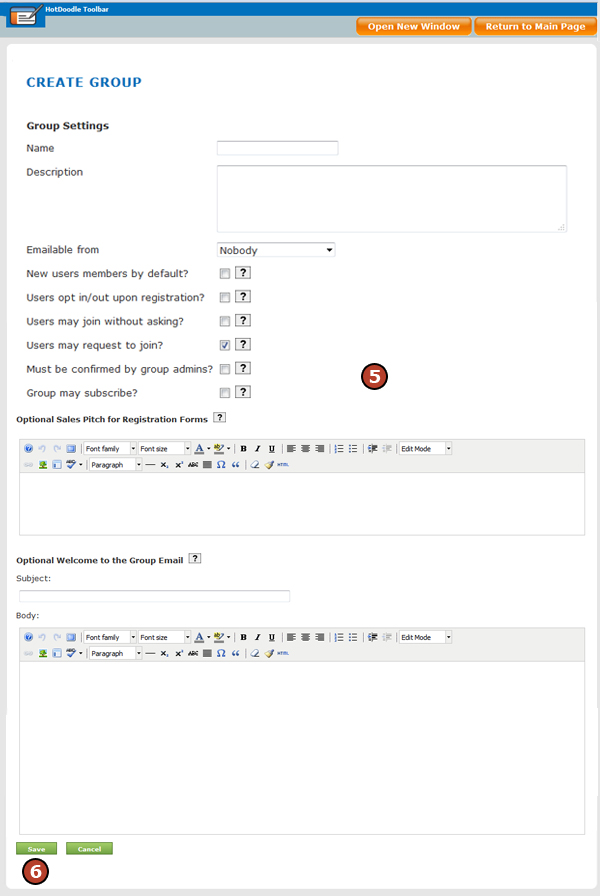
5. Type a Name and Description for the group.
6. Use the drop-down menu to determine who can email members of the group.
7. Use the checkboxes to set the properties of the group.
- New users members by default? - Check this box if all new users will be included in the group. This is useful to create a general group that contains all of the websites users, allowing the website owner to email them all at once.
- Users opt in/out upon registration? - Check this box to allow users to opt in or out of the group when they register for the website. The “sales pitch” text will appear when they register.
- Users may join without asking? - Check this box if users will be able to join or leave the group from the “My Info” page.
- Users may request to join? - Check this box if users will be able to request to join the group from the “My Info” page.
- Must be confirmed by group admins? - Click this box if a group administrator will approve all requests to join a group.
- Group may subscribe? - Check this box if the group as a whole will be able to subscribe to areas of your website.
8. If necessary, type a message to entice people to join the group.
9. If necessary, type a message title and body for the email sent to people joining the group.
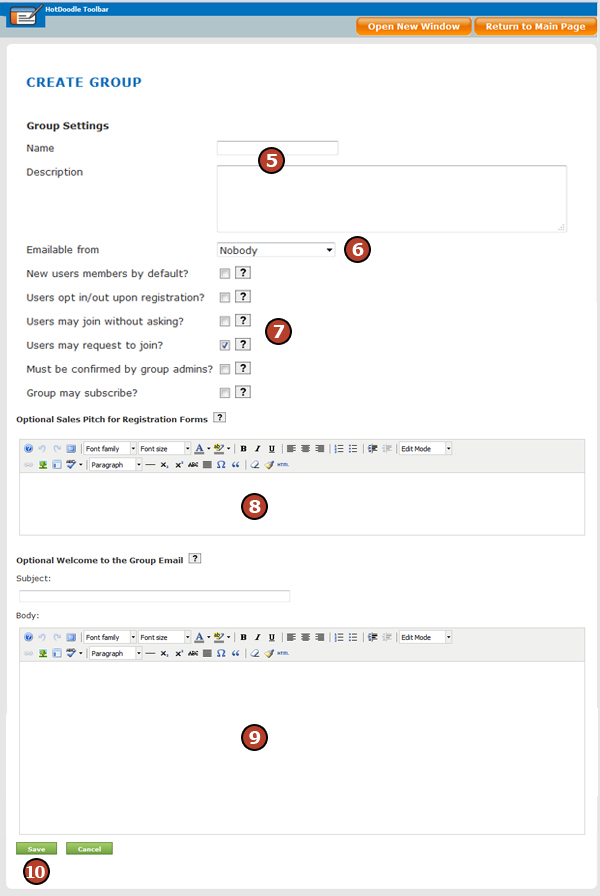
10. Click on the "Save" button. |