HotDoodle Logo
Personal Member Pages

Your website can feature personal member pages where users can have their own page(s) to add to and edit in your site. Personal member pages are a tool for creating a community on your site. 

To save the time of having to create each member page individually and assign permissions for each user individually, HotDoodle has created a way to automate the process when you first create an example personal member page as a template and an example user with permissions to own, see, and edit that template page. With your member page(s) and permissions copied, all your members receive a standard template to add to when they register on the website.

The permissions do not have to allow the member full edit rights of the page. Permission can be set at the page level and also at the individual block level. For example, the page(s) being copied are member profile pages that allow the new user permission to add pictures and change text, but not permissions to add or remove blocks or sub-pages.

Other permissions beyond page editing can be set to be copied when a user registers. For example, if the example user has permission to participate in a discussion board, then the new user will also have that permissions. Best practice is to set the example user as a member of a group and grant permissions to that group. Copying permissions to newly registered members includes copying membership into groups as well.


Create Automatically Generated Personal Member Pages

Steps: How to Create Automatically Generated Personal Member Pages

1. Create an example user account with the following settings:

  • Don't check the box allowing the example user to be an Administrator. The example user should not be an administrator. See Create a User Account

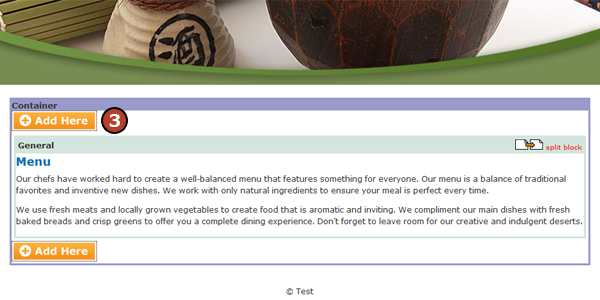
2. Create a page on the navigation menu named "Members" for all your personal member pages to be listed under. See Add a Page and Sub page

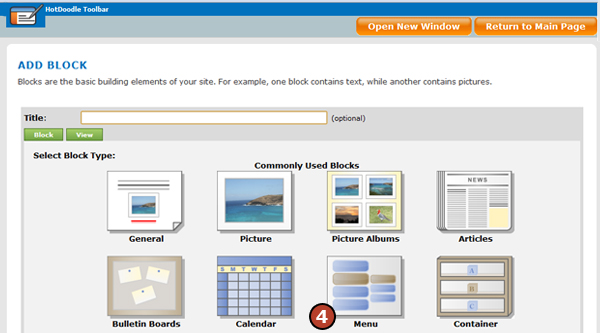
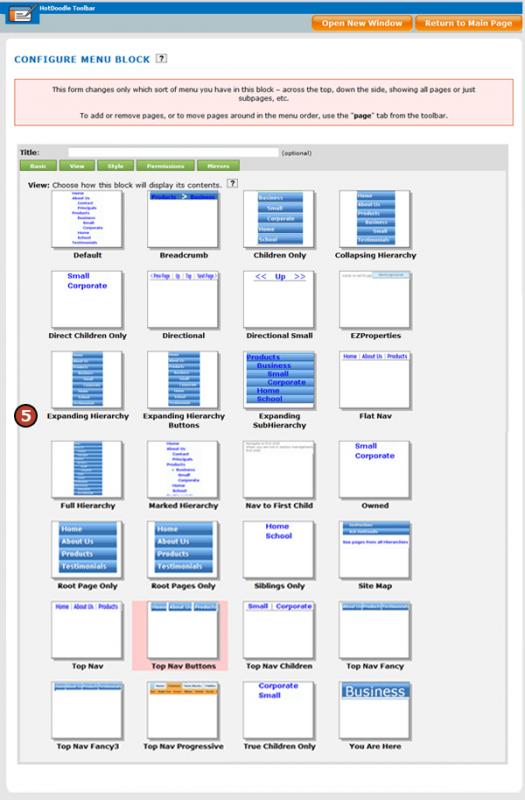
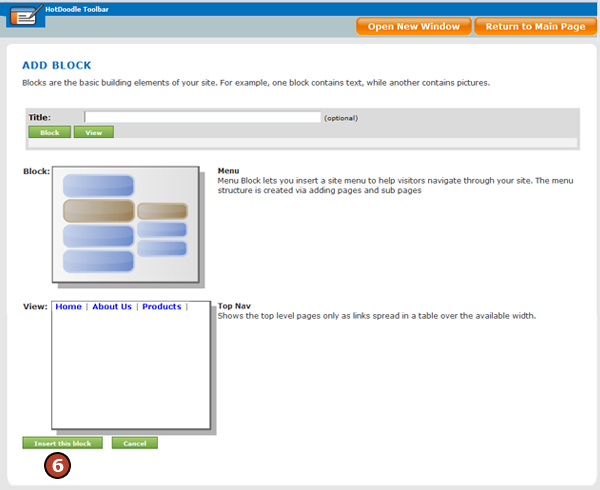
3. On the Members page, add a Menu Block with the "True Children Only" view. 

The Display Children Only view displays all sub pages or "Children" of the page it appears on. As visitors register on the website and have personal member pages created for them, the pages will be created as sub pages of the Members page; therefore, the menu block will list all the user's member pages in a link list on this summary page.

4. Create a sub page under the [Store Room] named "Template" to act as a template to copy for all the individual member pages. See Add a Page and Sub page

Making the Template page a sub page of the Store Room allows it to be in the website available for copy and reassignment of owner and permissions without having the original Template page visible to the public.

5. Add empty blocks to the Template page to create the structure of the member page for each visitor to have.

For example, add a text block for a biography, or a picture block so users can insert their image. The Articles Block with the Interview View creates a list of profile questions to present to the new user when creating their member page.

6. Set the permission(s) for the example user for each block on the Template member page. See Setting User and Group Permissions on a Block

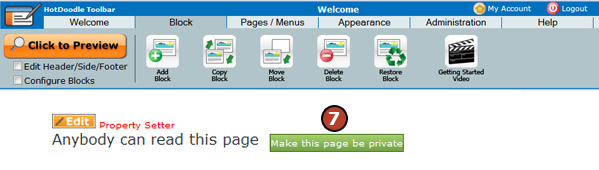
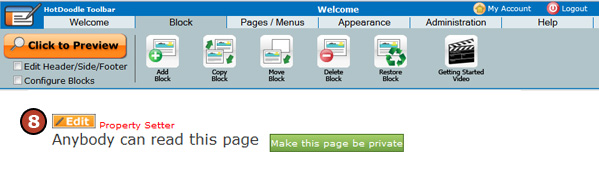
7. Set permission(s) on the Template page for the example user to own and edit the whole page. See Getting to the Page Properties Screen for a Single Page and See Setting User and Group Permissions

8. Add a Login Block to your website. See Login and Registration

9. Configure the Login Block, with the following settings:

    Actions to Take Upon Registration

  • Select "New Page" in the [Go To] Drop Down
  • Add a check mark in the box next to[ Go to the first sub page they "own"]

    Personal Member Pages

  • Select "Template Member page" from the [Copy this section] drop down
  • Select "Members" from the [Under this section] drop down 
  • Select "First_name, last_name" from the [Rename to] drop down
  • Copy rights of -> Set to "Example User" This means that the new copied page will give the same permissions to the user that the example user had for the example member page.

By completing the steps 1 through 9, the following will occur when a visitor registers on the website:

The website creates a copy of the Template member page and grants the new registered user editing permission to only their new member page. All permission granted are copied permissions from the example user originally created and assigned permissions. The newly created member page matches the Template page, but has been renamed for the new user and placed as a sub page of the "Members" page on the navigation menu. When the permission was set to "Own" the page, it transferred ownership of the page to the new user, so that when the user no longer wishes to maintain the page, they can delete their user account and their personal member page will be removed automatically.


Add the Option to Make Personal Member Pages Private

Some members may choose to have profile or their member page be viewed by the public and other members may want to restrict the public from viewing the page. Give the member the choice to make their page public or private by places a button on the page for each to click on if they choose.

Steps: How to Add the Option to Make Personal Member Pages Private

1. On the HotDoodle Toolbar, click on the "Block" tab.

2. Click on the "Add Block" button.

3. On the webpage, click on the "Add Here" button where the block will appear.

4. Click on the "Menu Block" button.

5. Click on the "EZProperties" block view.

6. Click on the "Insert this block" button.

A block displaying the public or private status is displayed with a button to click on to change the page from public to private, or back again.

7. Click on the "Make this page be private" button to make the page private. Click on the button again when it displays "Make this page be public" to make the page public again.

A private page in HotDoodle means that the page will not show to the general public. The page can be hidden from the general public, but still available to users/groups of the website.

8. Click on the "Edit" icon above the Property Setter Menu Block.

9. Click to select a group from the drop-down menu next to [Group id] that will have permission to view the private page.

10. Click on the "Save" button.


Pages Only Available to Website Users

© 2006 - 2015 Metabyte, Inc., All Rights Reserved, Patents Pending

http://www.hotdoodle.com, HotDoodle™ Custom Web Design and Quality Affordable Website Designers for Small Businesses and Professionals
Powered by http://www.hotdoodle.com, HotDoodle™ Custom Web Design and Quality Affordable Website Designers for Small Businesses and Professionals
Business Website Designers for Business Sites You Edit Site Map