HotDoodle Logo
Add a Calendar to Your Website

A calendar is a specialized block in HotDoodle that provides a way of organizing and displaying events on a website. Visitors to your site can easily navigate and search your calendar to locate upcoming events.


Steps: How to Add a Calendar

1. From the HotDoodle Toolbar, click on "Block."

2. Click the "Add Block" button.

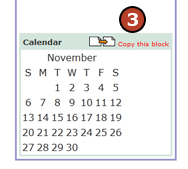
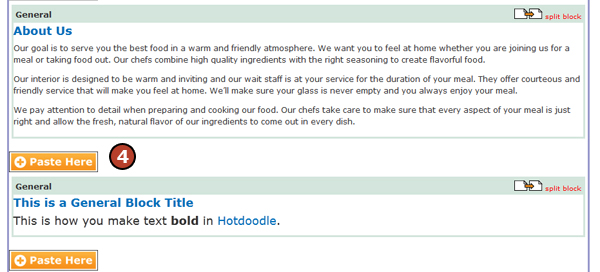
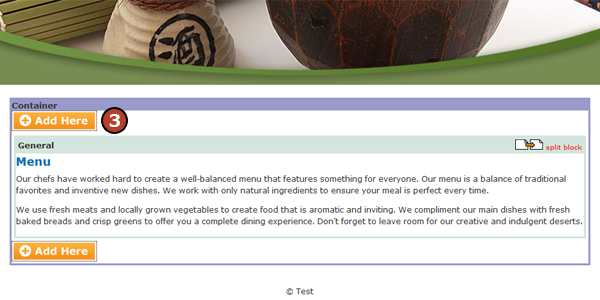
3. On the webpage, click on the "Add Here" button where you would like to add the Calendar.

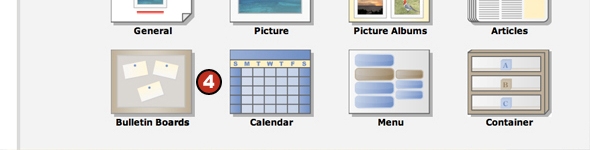
4. Click on "Calendar" block.


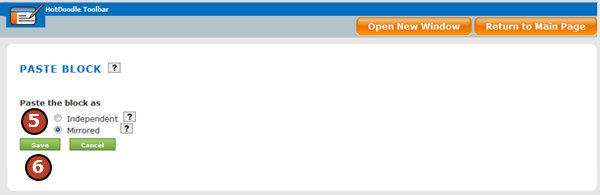
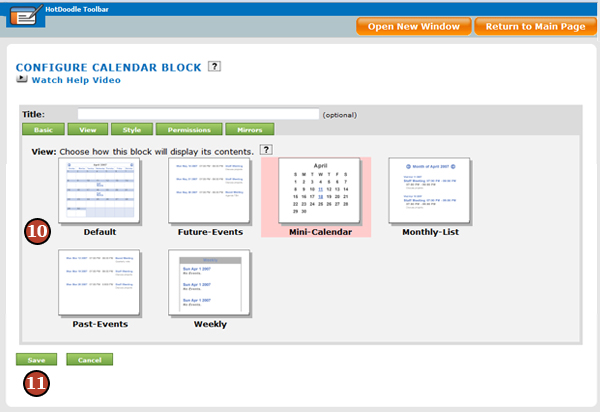
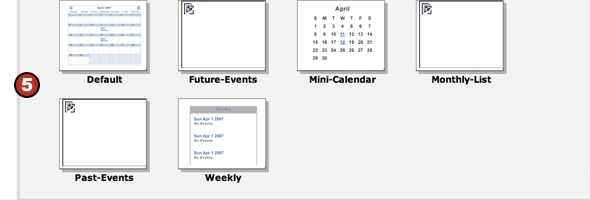
5. Click on the calendar type.


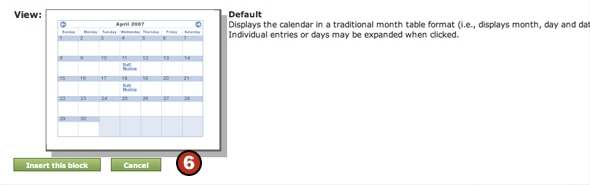
6. Click on the "Insert this block" button. The configure calendar window appears.


7. Set the properties for the calendar.

  • Enable Categories – Display the category name and color of an event. Categories appear in different colors that are selected when the category is created. Category colors only display in the Default Calendar view.
  • Enable Feedback – Allow logged in visitors to comment on calendar events. Note: feedback can only be given by registered users on the site. If you want to enable feedback, you must incorporate a Login Block with registration on your site. 
  • Max Events – Set the maximum number of events shown on the calendar. 
  • Number of Days – Set the number of days into the future that are displayed on the calendar. 
  • Show Event Details – Determine whether to show just the event title or the full description. 
  • Ignore Category Colors – Shows the event category without the associated color. 
  • Don’t Show Times – Show only the beginning time of the event. 
  • Don’t’ Show Editing – Turn off the editing buttons on calendar events, preventing visitors from making changes or edits.

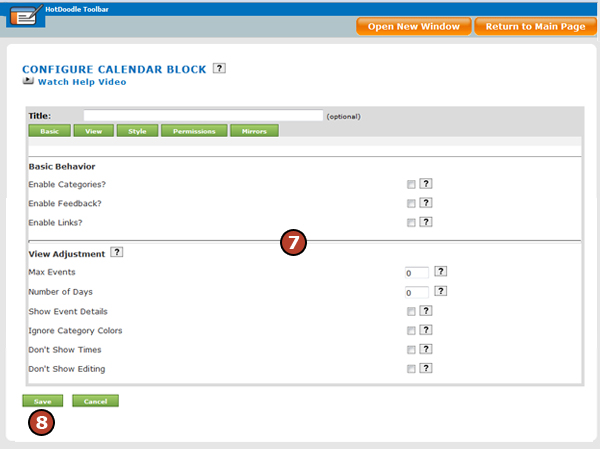
8. Click the "Save" button. The manage categories window appears.

9. Click the "Add Category" link or icon to add categories to your calendar.


10. When you are finished adding categories, click the "Return to Main Page" button.

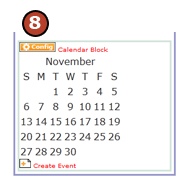
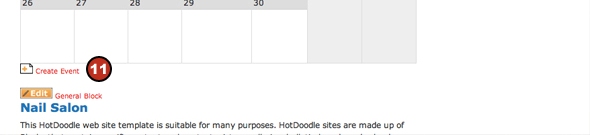
11. Click on the "Create Event" link or icon to add to your calendar.


12. Choose a category for the event using the drop down box.


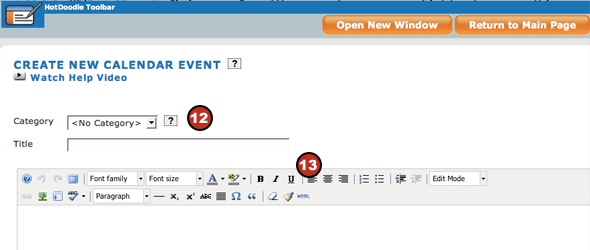
13. Type a title and description for the event.

14. Click on the "calendar" icon to choose the date of the event.


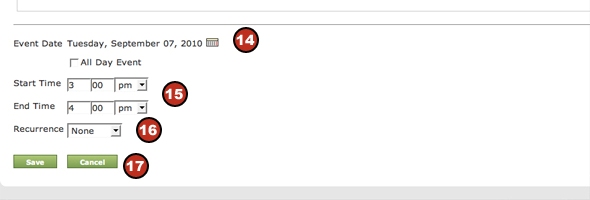
15. Type the start time and end time of the event.

16. Use the recurrence drop down box to indicate whether or not the event repeats. Type the number of repeating days and click the calendar icon to set an end date.

17. Click the "Save" button.


Calendar View Options

Default - This view displays a large calendar with the title of each event displayed on the day. When the event title is clicked, visitors are taken to a page with the details of the event.

Future Events - This view displays a list of events, that when clicked reveals the details of the event below.

Mini Calendar - This view displays a small calendar with just the dates in a different color when an event is added to that day. When the event day is clicked, visitors are taken to a page with the detail of the event.

Monthly List - This view lists the events of each month with arrows to move forward and backward to future and previous months.

Past Events - This view displays a list of previous events.

Weekly - This view displays a list of events for the current week.


Multiple Calendars with Different Views

In HotDoodle, it is possible to copy and mirror a Calendar Block and change the view on just one instance. With this feature, it is possible to have a mini calendar on one page of your site, and a full sized calendar on another page of your site with the same events. This method will also save you time when adding events because mirroring allows the second instance to automatically be updated with a new event is created on either calendar.

Steps: Mirror a Calendar with a Different View

1. On the HotDoodle Toolbar, click on "Block."

2. Click on the "Copy Block" button.

3. Click on the "Copy this Block” icon on the Calendar Block you want to copy.

4. Click on the "Paste Here" button where you want the copied calendar to appear.

5. Choose the "Mirrored" radio button so that both calendars will display the same events.

6. Click the "Save" button.

7. Click to add a check mark to the box next to "Configure Blocks."

8. Click the "Config Calendar Block" icon above the new calendar.

9. Click the "View" tab in the Configure Calendar Block screen.

10. Click on the view you want to change the calendar to.

11. Click the "Save" button.


© 2006 - 2015 Metabyte, Inc., All Rights Reserved, Patents Pending

http://www.hotdoodle.com, HotDoodle™ Custom Web Design and Quality Affordable Website Designers for Small Businesses and Professionals
Powered by http://www.hotdoodle.com, HotDoodle™ Custom Web Design and Quality Affordable Website Designers for Small Businesses and Professionals
Business Website Designers for Business Sites You Edit Site Map