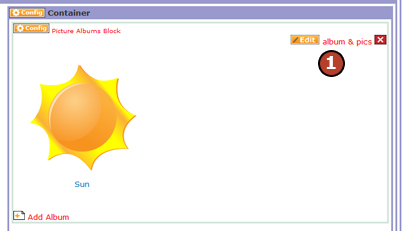
Steps: Adding a Picture Album to Your Website
1. On the HotDoodle Toolbar, click on "Block."
2. Click on the "Add Block" button.

3. On the webpage, click on the "Add Here" button where you would like to add the Picture Album.

4. Click on "Picture Albums" button.

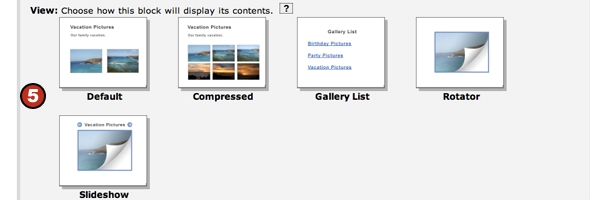
5. Choose the Picture Album view by clicking on it.
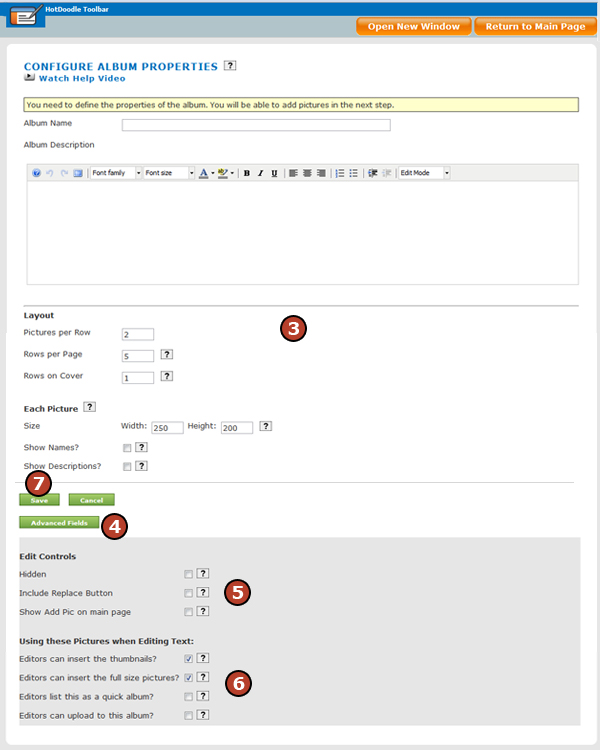
6. Click the "Insert this block" button. The configure album properties window appears.

7. Type a name and description for the picture album (optional).
8. Type the number of pictures per row, rows per page and cover settings.
9. Type the height and width to display each picture.
10. Use the checkboxes to indicate whether each picture should display a name and description.
The description appears above the image and the name display below the image as a link. When the image or the name link is clicked, the picture will open in a new slideshow window. Use the arrows to cycle through all the images in the album.
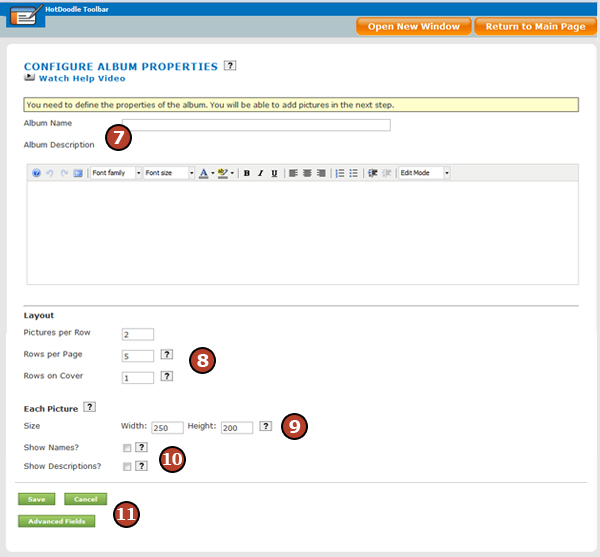
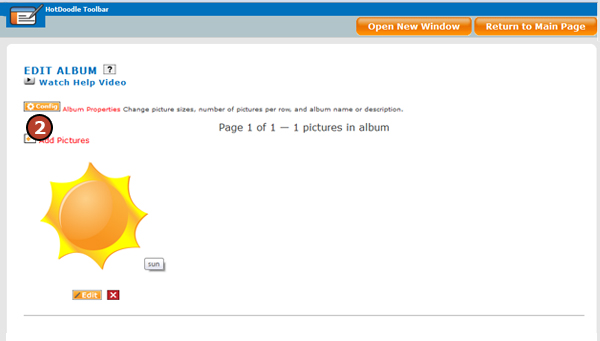
11. Click on the "Save" button. The edit album window appears.
12. Click on the "Add pictures" icon.

13. Click on the first "Choose File" button.
14. In the pop up window, navigate to the image file on your hard drive and select it.
15. Click the "Open" button to upload the image file. Repeat steps 13-15 for each available Choose File button.
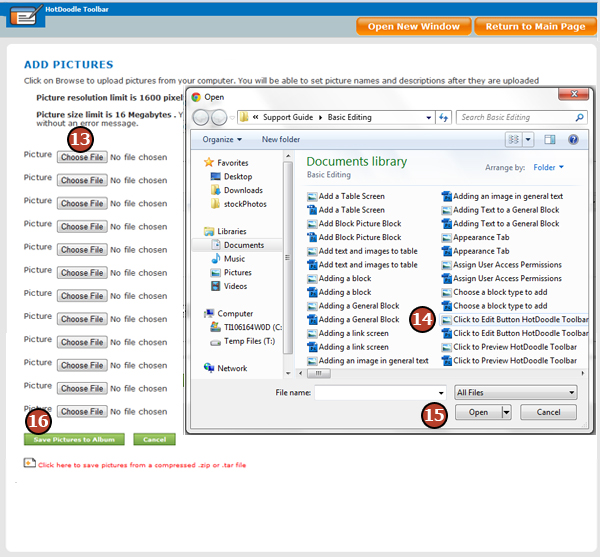
16. Click the "Save Pictures to Album" button.
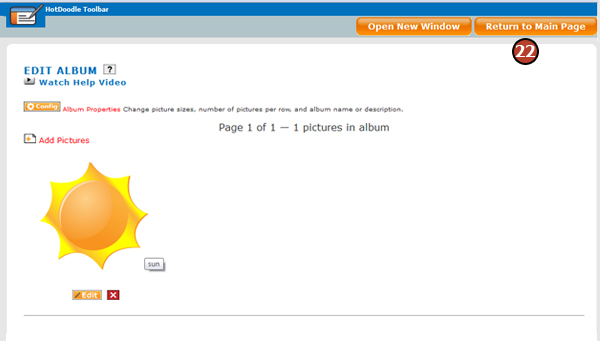
17. The next screen shows you the images in the album available for editing. To edit individual images, click the "Edit" button below each image.
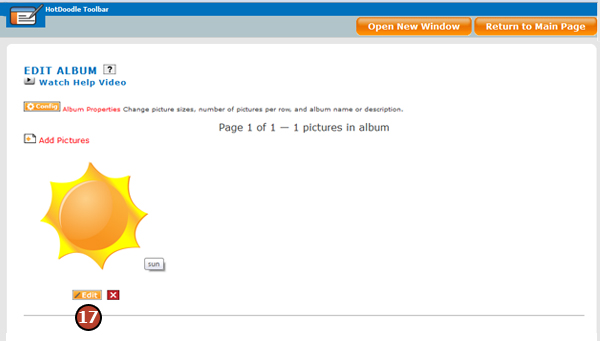
18. Enter changes to the picture properties in the available fields.
19. To view Advanced options, click the "Advanced Options" button.
20. Enter a URL to turn the picture into a link.
21. Click the "Save" button.
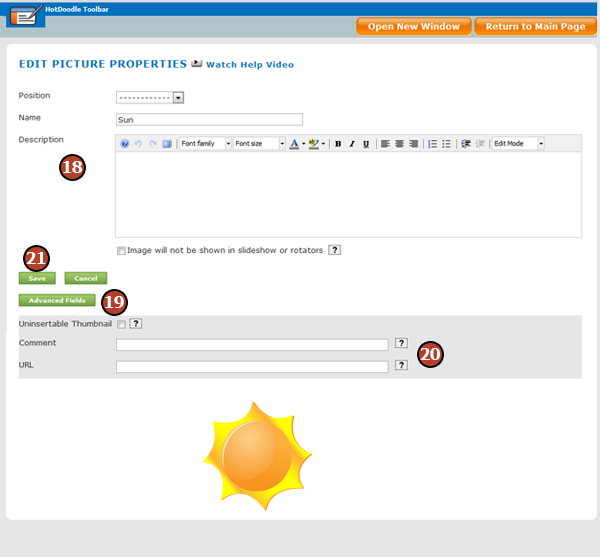
22. Click the "Return to Main Page" button when you are finished.
| 


