To create more advanced layouts on each page of the website using containers. Every block must be placed within a container. When creating the first block on a page, a container is created by default and the new block is placed within it. The most advanced layouts use a custom layout.
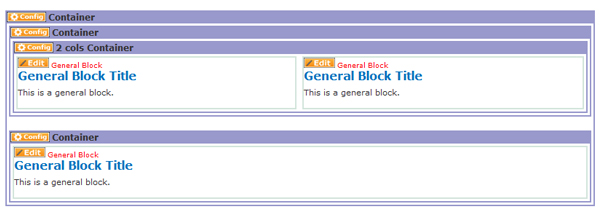
Use Multiple Containers: Use multiple containers to create a more complex layout. For example, place a container with two columns in the top half of the page and a container with a single column in the bottom half of the page, thus creating a page with three main areas, two on the top and one on the bottom. Example:

Multiple columns allow complex arrangements of text, images and other elements to be lined up more precisely. See example below
Steps: How to Create Columns with the Container Block
1. On the HotDoodle Toolbar, click on the "Block" tab.
2. Click on the "Add Block" button.

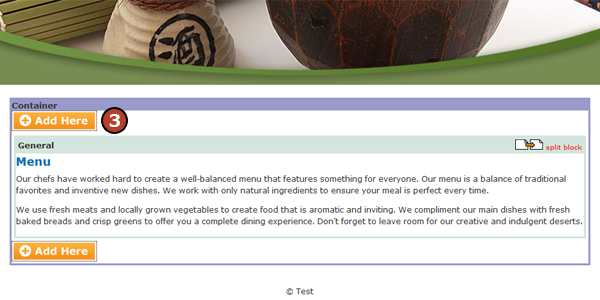
3. On the webpage, click on the "Add Here" button in the location to add the block.

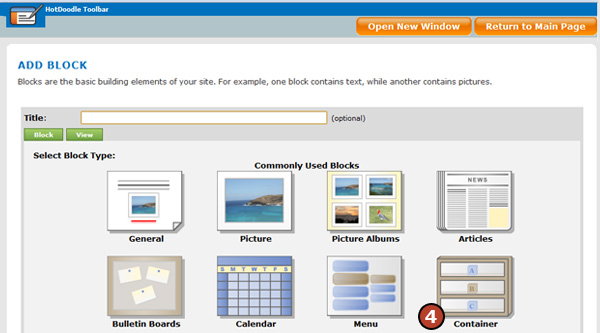
4. Click on the "Container Block" button.

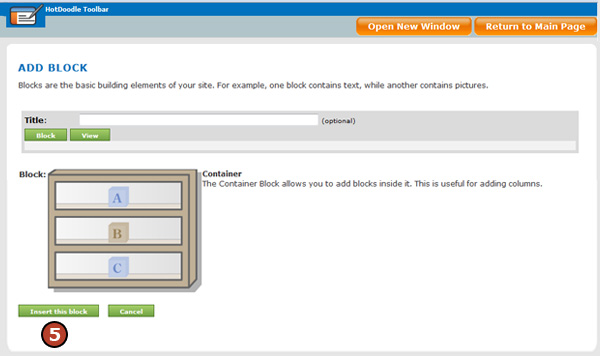
5. Click on the "Insert this block" button.

6. Enter the number of columns and rows in the Configure Container Block screen.
7. Select the formatting settings.
Combined Width - The combined width of blocks within the Container Block has two options:
a. Only as wide as needed to fit the content – The container sizes itself to fit the maximum width of the contents inside.
b. Fill all of the available width – The container sizes itself to fill all of the available horizontal space on the page.
Columns evenly sized? - This option, if checked will force all columns evenly spaced within the Container Block.
Push to sides - If this option is checked, the blocks inside the container will align to the left and right respectively.
Include a bar between columns - If this option is checked, a dotted line will appear between the columns in the container.
Include a bar between rows - If this option is checked, a dotted line will appear between the rows in the container.
8. Click on the "Save" button. |